Begin with one room at a time!
Even though this is not the way the professionals would tackle a painting project,
it offers a more manageable strategy for amateur DIY painters.
1/ If at all feasible, remove all furniture, pictures, etc. If you cannot move items out, then place them in the centre of the room and cover well with drop sheets, leaving space to access the lights so you can paint around the fixtures).
2/ Dust thoroughly and remove any cobwebs from areas being painted. It isn’t usually necessary to wash the area as long as the surface is dirt free and intact.
3/ Preparation – Patch up any holes or cracks that are evident, ensuring they have time to dry before a light sanding.
Now that your room is ready, you can carry out the painting.
4/ Begin at the top of the room, coating the ceiling first, usually in acrylic or water based paint. Doing the ceiling first allows you to clean up drips or runs before they dry or before you paint the walls.
Start by Cutting in the cornice. This is done using a brush to carefully outline the edges. Paint the entire cornice including the bottom edge. Cut in around 50-75mm onto the ceiling to make it easier to roll up to the cornice.
Once you have finished cutting in it’s time to start rolling.
Going from one corner gradually roll an area of 1-2 metres. Then coat your roller again and continue the process until the whole ceiling is covered. The process will probably need to be repeated to make sure you gain the best coverage; Roll in the opposite way the second time for the best results.
5/ Walls. Usually walls are painted with acrylic or water based paint. Paint the edges with a brush, like you would cutting in and then roll out the middle area. Using a dry roller (i.e. with little to no paint on it) go over the same area to remove any roller lines.
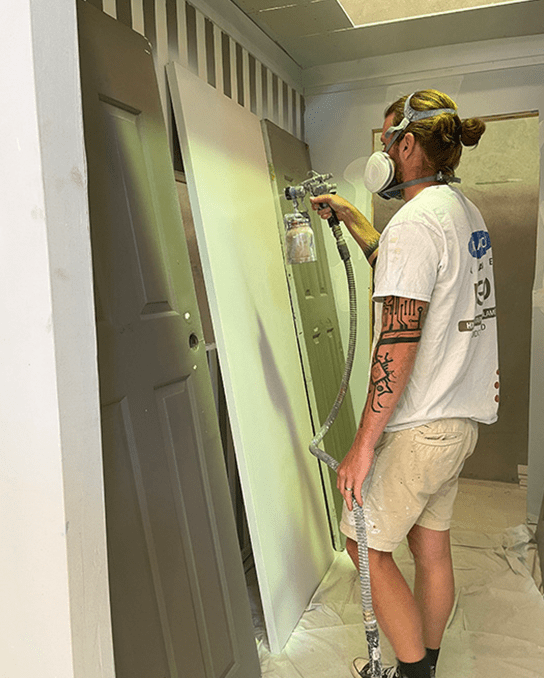
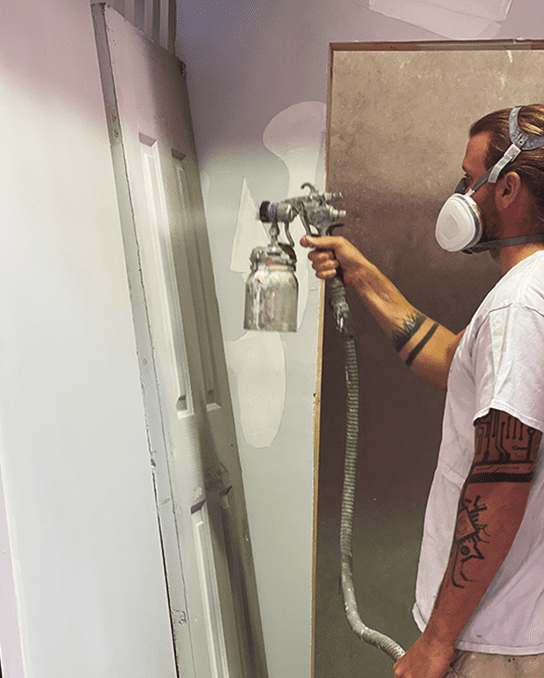
6/ Trims. Doors, windows, frames and skirtings are all referred to as ‘trims’. First they need to be lightly sanded and undercoated. Usually these are painted in oil based paints because they are harder wearing and last longer on the trims. (Acrylic paints can be used but they will need repainting sooner). A brush will be required for all trims. For doors it is simplest to cut in all the edges first and then use a roller for the face of the door and ‘tip off’ the rolled parts with a brush.
For all trims you will need to use a brush to complete the job. For the doors it can be easier to cut in all the edges then quickly roll the face of the door and lightly tip off the rolled sections with a brush (this is running your brush very gently across the surface you have just coated to ensure it is smooth and level).
1. If at all feasible, remove all furniture, pictures, etc. If you cannot move items out, then place them in the centre of the room and cover well with drop sheets, leaving space to access the lights so you can paint around the fixtures).
2. Dust thoroughly and remove any cobwebs from areas being painted. It isn’t usually necessary to wash the area as long as the surface is dirt free and intact.
3. Preparation – Patch up any holes or cracks that are evident, ensuring they have time to dry before a light sanding.
Now that your room is ready, you can carry out the painting.
4. Begin at the top of the room, coating the ceiling first, usually in acrylic or water based paint. Doing the ceiling first allows you to clean up drips or runs before they dry or before you paint the walls.
Start by Cutting in the cornice. This is done using a brush to carefully outline the edges. Paint the entire cornice including the bottom edge. Cut in around 50-75mm onto the ceiling to make it easier to roll up to the cornice.
Once you have finished cutting in it’s time to start rolling.
Going from one corner gradually roll an area of 1-2 metres. Then coat your roller again and continue the process until the whole ceiling is covered. The process will probably need to be repeated to make sure you gain the best coverage; Roll in the opposite way the second time for the best results.
5. Walls. Usually walls are painted with acrylic or water based paint. Paint the edges with a brush, like you would cutting in and then roll out the middle area. Using a dry roller (i.e. with little to no paint on it) go over the same area to remove any roller lines.
6. Trims. Doors, windows, frames and skirtings are all referred to as ‘trims’. First they need to be lightly sanded and undercoated. Usually these are painted in oil based paints because they are harder wearing and last longer on the trims. (Acrylic paints can be used but they will need repainting sooner). A brush will be required for all trims. For doors it is simplest to cut in all the edges first and then use a roller for the face of the door and ‘tip off’ the rolled parts with a brush.
For all trims you will need to use a brush to complete the job. For the doors it can be easier to cut in all the edges then quickly roll the face of the door and lightly tip off the rolled sections with a brush (this is running your brush very gently across the surface you have just coated to ensure it is smooth and level).
I trained under Nigel as an apprentice, now I am happy to say my apprentice is training under him also. I really enjoyed my time on the training wheels, and to be honest, Nigel seems to be one of the few driven by passion for our trade. 5 stars, anyday.
This is the number one place to go if you have any questions to do with the painting trade. It is so heart-warming to see an organisation like this that is dedicated to help out and improve our industry. They are up-to-date with Government Legislation and forward the information on, even if you’re not a member. They are also passionate about assisting painters to better their own business to become more profitable. Aussie Painters Network deserves a 5 star rating in my book. Keep up the good work.
Very happy with the service! Great knowledge that has helped me grow and realise a few things I need to improve on.
Top site and wealth of knowledge and commitment to the guys on the tools.
I have dealt with Aussie Painters Network a few times over the years & found them to be very helpful, Polite & friendly, their magazine is always informative & even if you only get one thing from it, that’s a positive thing. Keep up the good work.
I want to take this opportunity to thank and congratulate the APN team for all the work they do to help educate, train and support our painting industry.
Well done mate…!
Aussie Painters Network
2/16 Perrin Place
Salisbury Qld 4107
We’re open 7:00 am — 3.00 pm Monday – Friday. Saturday and Sunday Closed.
For additional questions you can call us at 1800 355 344 or you can find us on 0430 399 800
Aussie Painters Network
2/16 Perrin Place
Salisbury Qld 4107
We’re open 7:00 am — 3.00 pm Monday – Friday. Saturday and Sunday Closed.
For additional questions you can call us at 1800 355 344 or you can find us on 0430 399 800